Spent our day fixing up Bullarto as well as rewiring parts of layout (still)
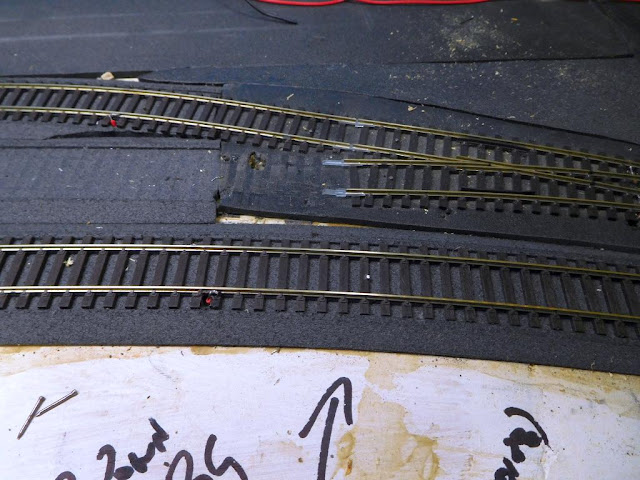
As per our previous post. Al took charge of Bullarto and re-laid the whole station in Micro Engineering code 70. Thank goodness we are down to out last 6 lengths of this track. We are truly blessed with Peco (true) flexible track. Our USA offerings are a very painful experience. I am sure Maureen wonders, when Al returns home each week with so many cuts and abrasions.
As you can see it looks great now.
I completed the electrical connections, and so now we only have point motors to go in.
Still sorting out shorts and today it was all about insulated joiners and the mistakes discovered as I rewired Wodonga Station. Putting these joiners in the wrong place allowed me to cross the droppers into the wrong territory. Mixing up wiring has caused me lots of grief. Part of the problem is my age. I can no longer twist my body as I once could. So I have to use a mirror to see underneath, making it easier to grab the wrong wire. So I moved the insulated fish plates to the points. and left the droppers where they were.
My soldering is at best woeful. And re-soldering droppers is a bit of a disaster! No matter what I do, the old solder only melts about the time the sleepers do! Its a wonder I get a connection at all (Thus my addiction to clipping the wires together.
The last fix created another fault. At Wodonga the main BG line forms three roads. Platform,No2 road and Runaround Road. I found I had to insulate all rails from the two points (adding an extra two insulators as the frogs were already insulated for live frog operations of Peco points.
This in itself created problems (of course) as I needed to remove track already fixed in place to change the insulators in.
I had to push out the track whilst making a gap to allow me to push the rails into the insulators. This is always a bit of a task, and this time I pushed too hard and separated the rail from the sleepers. This meant I had to remove the complete length of track, remove the droppers and clean up the solder with a wick, so I could slide the sleepers off and replace them attached to the rail. Another hour lost for ever.
Next job was to turn the power back on and test a train. Well no warning signals and the correct lights were showing on the Command Stations. The track tester showed 13.6 volts, and trains were able to run.... for about 10 minutes. Then the warning beeps sounded and power was lost. I said to Al "What was the last thing you did?" and it wasn't him, and I knew I did nothing more than put a train away in the coal siding. So Al lifted the engine off track, and nothing gained here. We moved the train back and forwards thinking a wheel was shorting. a gap. But nothing we did was helping the short to move on. It was a strange one as well. It would reset for 30 seconds and trip the circuit breakers, then reset etc. etc.
At the same time we lost power at Bullarto, and spent some time trying to restore it so Al could test his track out, there. We never got it back, nor did I fix the new short
The only common point was here which was worse before I started linking the heavy wire to the block connector, which screws to the back of the deck. I have 13.6 v at the block, in both connections. But it does not reach Bullarto or any other destination if I connect the feeds in all together. Sounds like I have discovered more cross connections. The short is still on the black feed. That is remove red wire short remains. remove black, short disappears! Even if I reconnect the red.
So I decided to remove all this wiring and replace it with shorter, neater cables and see if I can find the fault this way.
When I set this railway up, I made another mistake (How many can an old fart make 😕 )
I placed the UP5 controller access panels on the top level. this meant that cables were always hanging down over bottom level, an accident ready to happen. So they needed moving down to the bottom level. Might as well do that now as well.
UP5 on top level allows cables from controller to foul bottom level.
removing them is complicated by 12v power connectors as well as bus connectors and networking cables.
Anyway after cancelling a trip to Melbourne, tomorrows job was to be relocating these below. However I am not feeling well and suspect that its time to have another rest :(
Cheers
Rod
PS
forgot the bridge. A little progress. I used hot glue to secure it in place and attach the wing walls. Now I need to get the hot wire working so I can clean up the banks
the temporary block of wood was put in to help straighten up the walls
RY


