2018_06_03 Peter came back today to finish the shed...
It took a lot of time to find out how we should do it. And then we found the turntable was still too low. We were out about a sleeper height. This despite the steel rule sitting flat on the rails in an earlier picture.
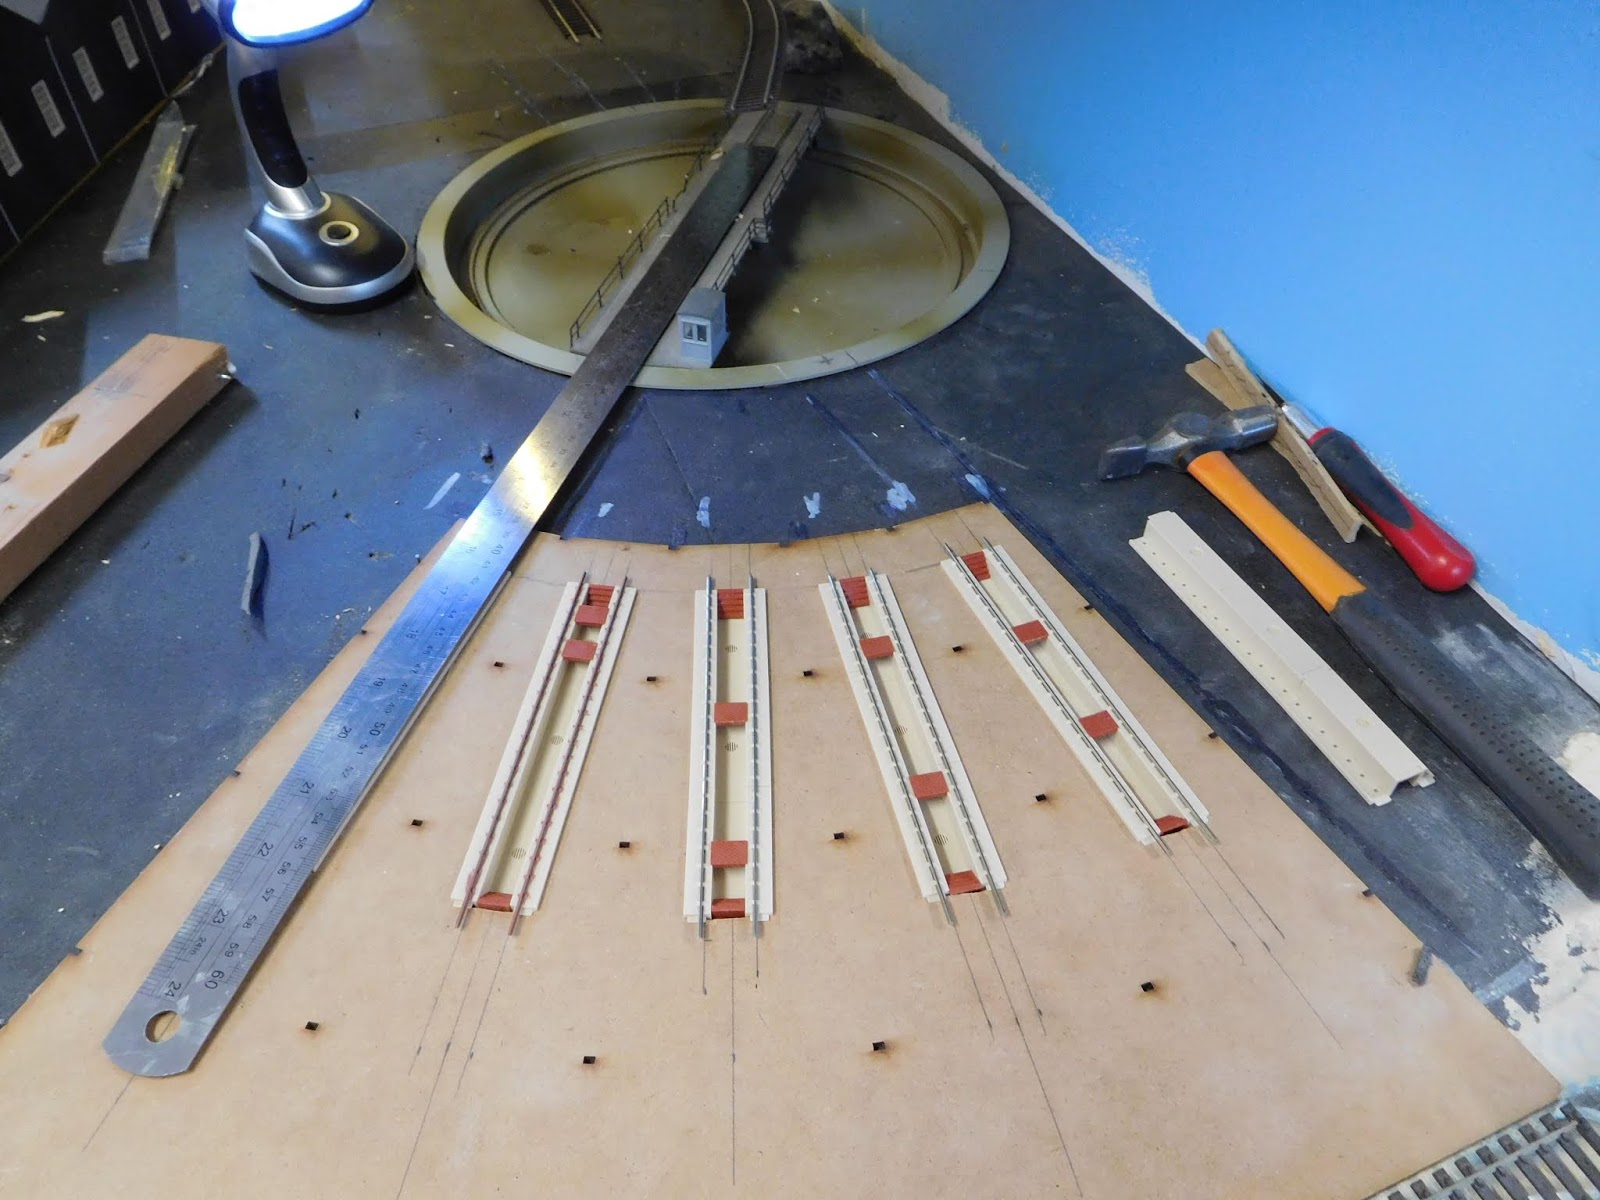
In the finish we laid another layer of rubber over top the hole the turntable sat in, and cut it out around the baseboard edge and sat the turntable on top. A bit of wasted time, but it worked.
As usual some pictures.
We decided that we were never going to get the posts in the middle of the building to fit into the small locating holes. Not going to happen, and we realised that we needed to lift the top off and put it back on easily.
At first I removed all the lugs on the bottom of the walls and using a straight edge snipped off the internal legs to match. Now I intended covering the floor (blue ) with black foam to simulate bitumen. However it was not low enough to allow track cleaning. But I used a center punch to uncover the location holes under the blue rubber. But it was obvious the posts were not going to line up with the holes.. So go to plan B.
So all the locating lugs are removed flush with side walls. Although they are almost perfectly in line, they still would not allow the building to sit on the base.
oops!! I used rail cutters to shorten posts :( Have to do better when I shorten them one more time!
Ok picture helps. I thought the tin was going to sit outside the floor. However I can now see it doesn't. I now intend to glue wooden pieces inside the floor in such a way as to hold the sides in position and hopefully locate the shed in its correct position. Hopefully easy to lift off and replace again.
Peter thought styrene would do the job. Went to store and found a sheet that was thick enough and large enough to cut out the concrete floor.
Stuck it down with hot glue...ouch!
Run out of paint, but looks like the old brick floor was past its used by date. Here we see a modern concrete floor being installed. I wonder if we can restore the original brick walkway at the rear of the shed? Finish floor, then glue in location wood pieces around walls and see if it is going to work?
Thank you Peter, it was a tough day, but it seems to have come together. Have a happy holiday in Darwin.
Cheers
Rod