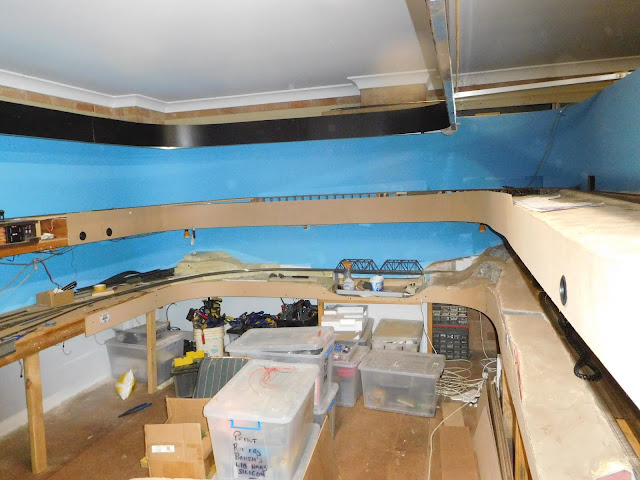
Graeme surveys our handiwork. Basically gluing (no more nails) fascia over old damaged area to improve looks and assist with application of scenery.
Waiting for glue to dry
Might as well drill out the holes for our point controllers.
Test fit them.
Graeme used a Stanley knife to trim off the tops and match the contours.
OK next day, and time to remove the clamps and paint it all.
Again using a water based undercoat to bring out the rich green color of the top coat.
Wait a day and apply the top coat.
Still need to do some more trimming on top edge. Tried it but my Arthritis made it too difficult. Graeme will come back and do it.
Played around with the trestle. Painting the backdrop below deck level green, and if I paint the top blue, you wont be able to see the tracks behind it.
Graeme's point button holders
Desk top cable tidy. Simply push out the middle bit and discard.
Start up you 3D printer after drawing up a suitable insert, and print enough to fill all the holes in the fascia :D Easy for Graeme eh? He has one of those new fangled things ;)
note: old farts definition of fangle. obsolete : a silly or fantastic contrivance : gewgaw, gaud.
Our two bits need to be brought together.
If you have your drawing right, press fit them.
And now your switches can be mounted into fascia with out you having to worry about catching them with your clothing as you walk past. And besides they look fantastic as well.
Here is a Tam Valley version with three holes allowing a push button and two LED indicators to be fitted.
Of course the original version accepts a 4 pole double throw toggle from JayCar.
We are pretty happy with how it all looks now. Soon it will be time to spruce up the scenery.
Also it will be time to play around with permanent control panels. This is how Albury Station is looking to be. Stay tuned to find out how we go about this.
Cheers
Rod


The rebated switches are a great idea, and I liked the blow-by-blow photo coverage of the installation. Thanks Rod for sharing.
ReplyDelete